The world is a fast-moving time zone that leaves behind all the unpopular and outdated items quickly. Hence, the new days are all about how you can emerge from your experience in a better way so that you are living a futuristic life. With all the inventions ahead, the Alexa Echo Dot is nothing less than an innovation. This device, along with the Echo Dot Wall Mount, has been on the move for a long time to acquire and provide a great experience at all times.
It is no fact that the Echo Dot is a great smart home device to have. However, you can always get a better experience by ensuring Echo Dot wall mount. This will not only give you a great overall look for your home but, it will provide you with numerous benefits that you can easily gain. Making it accessible is also a great solution for a smooth conversation with your Echo Dot. Therefore, always ensure that you are gaining the right element before starting. This is why our guide will help you know the best way to wall mount for echo dot.
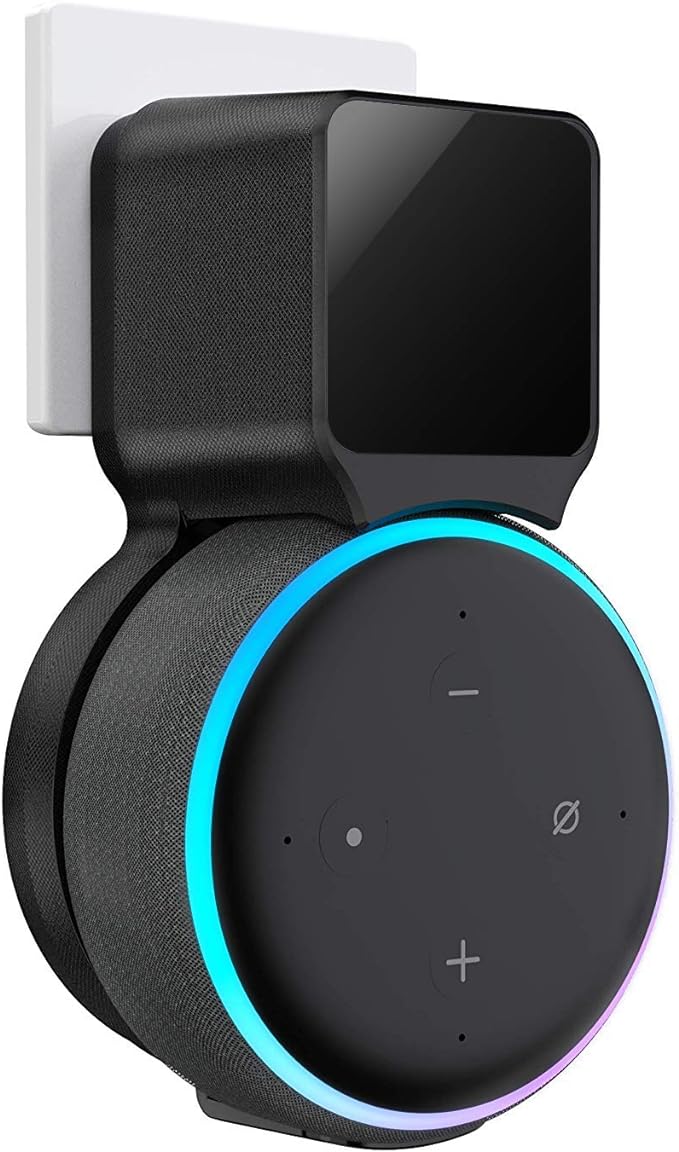
- Echo Dot Wall Mount
- Better Sound Performance
- Safe and Stable
- Easy to Install
- If there has any problem with our Smart Speaker Holder
Step By Step to Mount Your Echo Dot on the Wall
Mounting Echo Dot on wall is a simple process and it is a game changer as well. It will help you free up space and also gain an aesthetically appealing setting for your home, making it more unique and tech-based. We have provided you with the right step by step guide to help you mount your echo dot on the wall. Ensure that you follow all of the steps carefully and that you do not leave anything behind. So let’s get started with the process!
Step 1 – Collect the Right Materials
Before moving on to any other step, you should know about the different materials that you will need. The equipment is important to have so that you do not miss out on any step or, nothing goes wrong. Hence, some of the equipment that you will definitely need for the echo dot wall mount will be:
- You can get the echo dot wall mount kit that is largely available in numerous retail stores or electronic stores.
- A screwdriver or drill is needed as well. You can choose one of these items depending on the method that you choose to mount the echo dot on the wall.
- Screws or adhesive strips are also very important to have. Most of the time you will be able to get this with the kit itself. If not, ensure that you have some by your side.
- A level scale is needed to ensure that the echo dot is mounted straight and is not titled in any way. You of course do not want to have a tilted echo dot hanging on your wall.
Step 2 – Choosing the Right Wall Location
The next step after you have collected the kit or tools that you need is to ensure the place where you want to mount for echo dot. There are tons of different ways and areas that you will be able to mount your echo dot throughout your home.
However, ensure that it is at a good level and also near to the WiFi so that the signals are strong at all times to avoid connectivity issues. You can mount your echo dot anywhere in your home where you feel right. Having it at eye level is also important so that you can have a look at the display of the echo dot with ease.
Step 3 – Prepare the Surface for Mounting Your Echo Dot
The third step is to prep the wall for the mounting process. Ensure that the wall is clean. You can do this with a simple tissue or any other cloth that you do not need. Make sure that the cloth is dry, not wet.
If you do use a wet cloth, then wait for the area to dry out before you move to the other process. This step will help clean out the dust, debris, or dirt so that it is a safe and clean spot for your echo dot. You do not want all of the dust to fly into your mouth or eyes when mounting your echo dot into the wall too!
Step 4 – Install the Mounting Bracket
If you get the echo dot mounting kit, you will get a mounting bracket which is highly important. This will ensure that your echo dot is kept in place and securely on the wall. You should first attach the mounting bracket to the wall. You can either do this with the adhesive strips or by using screws.
The kit that you get will also come with instructions so you can follow that for a better perception to make it according to the kit you got. After installing it, you should ensure that the mounting bracket is securely attached to the wall. For this step, you can also use your ruler to ensure a straight-aligned mounting bracket.
Step 5 – Attach the Echo Dot
When you have installed the mounting bracket in place, the next step will be to install your echo dot. You should carefully take your echo dot and place it on the mounting bracket. Make sure that it has a snug or tight fit so that your echo dot does not fall off. Always double-check if your echo dot is in the right position with the mounting bracket and if it is seated without any harm.
Step 6 – Secure the Echo Dot
This step depends on the mounting method. Take a look at the guide that the kit came with and if it says to secure the echo dot in place using screws then do so. There is a locking mechanism as well that will come with the Echo Dot wall mount kit. You should follow the instructions and methods that are given on the kit to make it secure and as how the kit desires as it is made to be fixed in a specific way.
Step 7 – Test it Out!
Step 7 includes testing whether your echo dot and mounting bracket are in place, securely installed to the wall, and aligned. You can give your echo dot or mounting bracket a little shake to see if it drops or stays in place. The echo dot as well as the mounting bracket should stay in place at all times, even when you shake it. If you feel it is wobbly, adjust the screws to make it more secure fitting to the wall. Leave no possibility of it falling out!
Step 8 – Enjoy Your Echo Dot
The last step is to connect your echo dot back to the power outlet and use it how you normally would. Do a functionality test to see whether the echo dot is working properly or not. Ensure that no button of the echo dot is being pressed with the wall or mounting bracket. Hence, after this, you have successfully completed the process of mounting your echo dot on the wall!
- Designed to work with Echo Dot
- A SUPER EASY install will have your Echo Dot
- Get your Echo Dot (5th Gen)
- Rotating design can turn 360º
- Keep that power cord in check for a clean finish
- Our pros are available to help 7 days a week
- Compatible with Amazon Echo Dot 4th & 5th generation

Conclusion
Mounting your echo dot can be daunting because the device is fragile. A drop from the mounting bracket when installing it can lead to severe issues, it might just break your echo dot apart. However, with the kit, it is an easy and effective method. The steps are easy and if you do it with the right attention and caution, you will be able to hang your echo dot on the wall in no time.